 publish
Use your own domain
The verified domain serves your newsletter after DNS and certificate setup.
Before you start
An eligible paid plan and access to DNS for a domain you control.
Where to find it: Newsletter → Settings → Domain
Open My newsletters →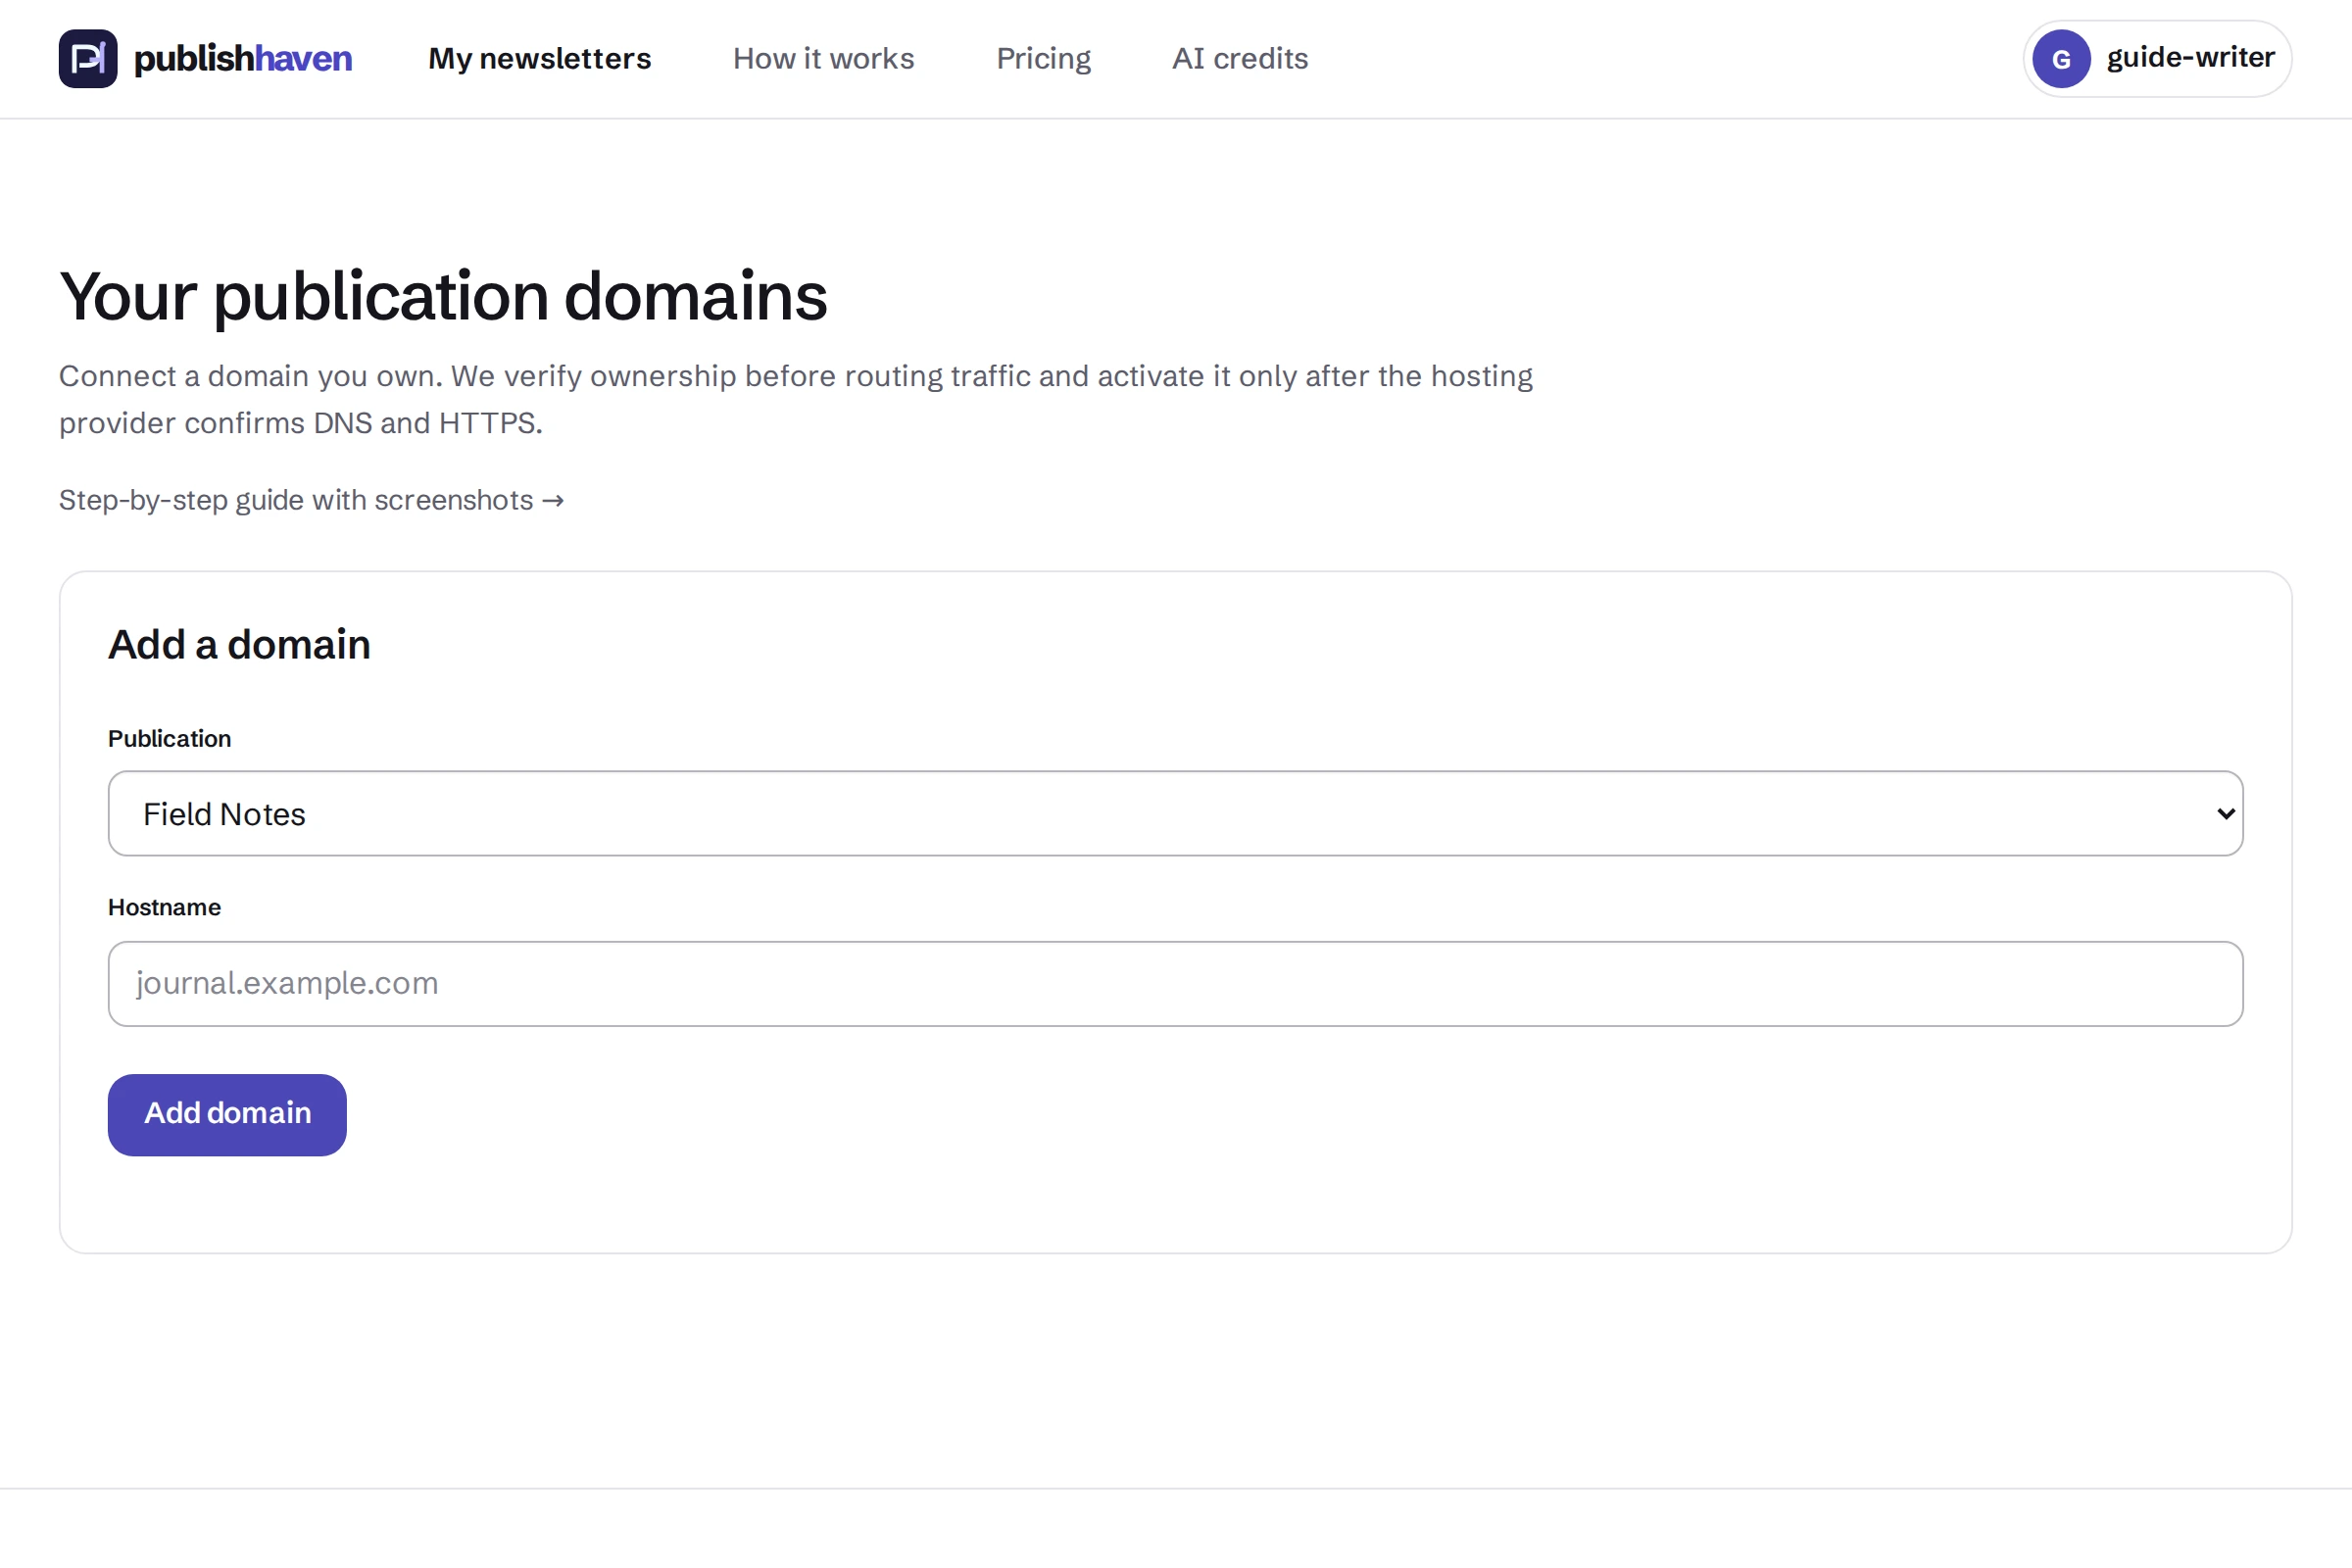
Enter the domain
Open Custom domain, select your newsletter and enter the hostname you want readers to use.
Copy the displayed records
Read the exact DNS names and values provided by the setup page.
Save them with your DNS provider
Add those records in your domain provider’s DNS controls. Preserve unrelated website and email records.
Check verification
Return to the domain page and check verification and certificate status before sharing the new address.
What you should see
The verified domain serves your newsletter after DNS and certificate setup.
Check before you continue
DNS changes can take time. Use only the exact records shown in the setup page and keep existing mail records.
If a step is unavailable
Check the plan and feature status shown in your workspace. “Not released yet” or “Setup on hold” needs platform work. “Connect” or “One step left” links to an action you can take. A pending scan, send or payment must finish before its result is available.
If the result still does not appear, contact support@publishhaven.com with the service name and the visible message. Keep private reading links, passwords and payment details out of the message.